Friday, January 1, 2016

Noni Alma's Bourbon Balls

 HAPPY NEW YEAR, EVERYONE!! *jumps in air and does splits

I woke up this morning and thought to myself, "Self, it's gonna be a baking day to start the year off right!" So, I did! I baked. Kinda. I mean, this is probably one of the simplest recipes I've brought to you. No need for mixers, oven timers, nothing like that. It's a throw-it-all-in-one-bowl-and-be-done-with-it kind of recipe!

What's more, is that this recipe belongs to my Noni. And EVERYTHING that woman has ever made from her kitchen is in fact, AMAZING. When my sisters and I went off to college, Noni always made us some goodies to take with us. Her bourbon balls were always my request. She'd leave us a note inside the goody can about how much she and my Nono would miss us and then the PS would always read, "Don't Eat And Drive" Hilarious. And....so true. So consider yourselves in for a treat, a really tasty treat. You're welcome.

Behold....Noni Alma's Bourbon Balls!


The ingredients are simple and most likely, the majority are already in your pantry!

You'll need:

3 cups Nilla Wafers, crushed
1 cup confectioners sugar
1 1/5 T cocoa
1 1/2 cups walnuts, finely minced
3 T light corn syrup
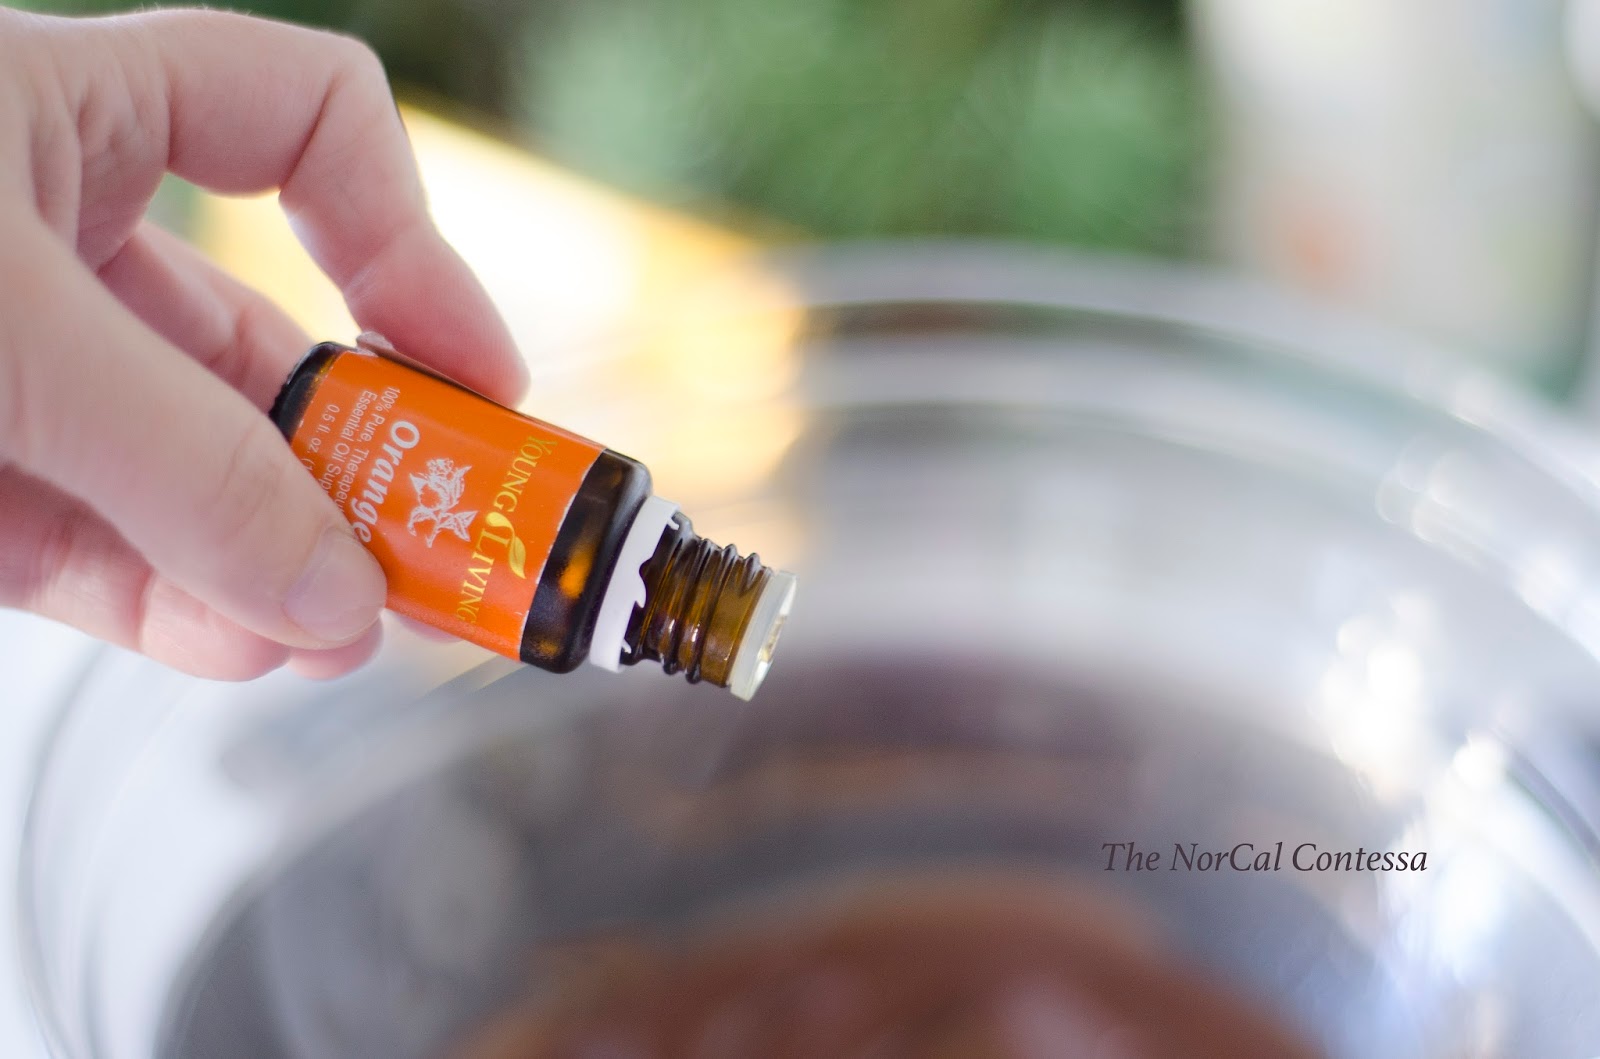
1/2 cup bourbon
3T sugar (for rolling the balls in) or confectioners sugar

This recipe has many variations, all of which we have tried. You could substitute chocolate wafers for the vanilla, and you could use rum or kahlua in place of bourbon. My family prefers the bourbon best, but it's totally up to you and your taste buds 

First, crush the Nilla wafers until it's fine in texture and place in a medium sized bowl. I like to use my mini Cuisine Art, but you can throw them into a Ziploc and crush with a rolling pin


Next measure out your cocoa (I used Hersey's Cocoa for this recipe), your confectioner's sugar (aka powdered sugar), walnuts, corn syrup, and bourbon. Then throw it altogether in the bowl and mix with a spoonula because let's face it, it's fun to say and gets the job done. Say it with me, SPOONULA.  Moving on. Warning: If your hand is heavy in the pouring of the bourbon, your 'dough' will be a slushy mess and won't hold well. I mean, I *may* have added a teeny, weeny, tiny bit extra...but I didn't go overboard.


At this point in time, the smell is absolutely intoxicating!!


The dough will be thick and have a very sticky consistency. Your spoonula should be able to stick up straight, as if it was in a bowl of chili. If your dough looks anything less then, go ahead and add about a 1/4 cup nilla wafers until you get the right consistency again.


But before we go further, let's tip our hats and have a moment of silence for these fine gentlemen. They knew exactly what they were doing when it came to alcohol....amen.


Yep, we are looking at you Mr. Jacob Beam, you old rascal! High fives, all around! 


Okay, back to the recipe. Once you incorporate all ingredients, you'll want to take about a tablespoon of dough and cover it while rolling it around in a jar of sugar, shuga ;)  


This recipe will yield 30 big balls (1in in diameter) or 50 smaller balls. There is no need to chill this recipe - woot! If we are going to a dinner party, I like to make these a day or two before so the bourbon really sinks in *wink wink
You can line your baking dish with wax paper and place the bourbon balls on top. Just make sure they stay in an air tight container, otherwise they will harden. Before serving, I like to sprinkle a little bit of sugar over them :) 


So there you have it, friends! An easy, no-fuss kind of recipe that is sure to bring a smile to your mouth...and belly ;)

Happy New Year!
NorCal Contessa


Wednesday, December 23, 2015

The Haldeman Holiday Ornament

Hello friends! We are just days away from Christmas, so there is still time to make a keepsake ornament! Last year we did cinnamon ornaments, and salt dough ornaments for our ornament tradition. 

This year for our 2015 keepsake ornament, we made Snowmen Handprint Ornaments! 


This is a pretty simple craft. You'll need the following items:
- Glass or plastic ornaments: shiny coating only. Do not purchase the matte ornament balls (ex purple, blue, red etc) as they will bleed through the paint. 
- Craft paint - black, brown, and orange, paint brush
- Toothpicks
- Fabric 
- Pencil
- Ribbon
- Glue stick
- Your child's hand :)

Step 1: You'll want to paint the palm of your child's hand with white craft paint. Gently place the ornament in your child's palm and have them "hug" the ornament. I had to gently press their fingers flat up against the ornament to ensure that the snowmen would appear ;)


Step 2: While the ornaments dried, I cut out small little "scarves" from some left over holiday fabric. Truth be told, the process of cutting and gluing the little scarves took the most time. Helpful hint: USE WASHI TAPE for the scarves. By doing that, you'll cut your cutting-perfectly-small-sized-scarves time in half ;) ;) And you'll save your sanity in the meantime!


Step 3: Take a pencil and draw out your snowmen faces, noses etc. You can totally skip this step, but I'm just way too anal about how my snowmen look - good grief! LOL


Step 4: Take the bottom of a toothpick and gently dip it into black craft paint, and place it on top of your pencil marks. This is how you'll make the eyes/mouth/buttons. Do the same thing with orange craft paint to make the noses. You can also use a toothpick to make stick arms and hands.


Aren't they SO cute! They have so much personality, don't they? Side note: I'm super proud of myself at this point in time, FYI.

Step 5: Take a glue stick and glue the back of your fabric scarves, then stick them on your snowmen any way you like! Dip the end of a paintbrush into the white craft paint and "dot" around the ornament to make it look like falling snow. And voila! Add a pretty ribbon on top and you've got your Snowman Hand print Ornament! WOOT! 


No matter how you decide to spend these last few days before Christmas, do so with your heart and soul! Make it a memorable and wonderful holiday with those nearest and dearest to you! 

Happy Holidays, 
The NorCal Contessa


Wednesday, December 16, 2015

Chocolate Orange Pretzel Bark (say that 3 times fast ;) )

Chocolate. Orange. SOHAPPYTOGETHERRRR! As a kid, I never liked these flavors together. But now that I'm a full fledged adult, I like it. I really, really like it! My girlfriend Kelly, (who is equally obsessed with Young Living Essential Oils as moi) gave me this recipe the other day that lists one of the ingredients as Orange EO. It's a fast, easy, and sure to bring a smile to your face kind of recipe! Thank you Kelly for all of your wonderful recipes, especially when they include YLEO's ;) This won't be the last time I make this treat!

Behold...

This recipe calls for the following deliciousness:
- Young Living Orange Essential Oil
- 1/2 c unsalted pretzels, crushed
- 1 pkg Ghirardelli Semi-Sweet chocolate baking bar
- a pinch of Pink Himalayan Salt
- parchment paper covering a cookie sheet

Before I begin, let me nerd out and tell you some of the benefits you'll reap by using Orange YLEO's and Himalayan salt. The health benefits from using the Orange EO are as follows: While it not only enhances the flavor of your foods, the smell is uplifting to the body and mind, its an anti-inflammatory, and helps boost immunity. The health benefits of Pink Himalayan salt promotes a healthy blood sugar, increases hydration, is detoxifying when thrown into a bath, and helps support respiratory health. And chocolate...what's not to love? I mean, could eating this delicious treat be any more awesome?! 

Alright, back to the recipe. In a double boiler, melt chocolate until smooth and creamy. Add 4 drops of Young Living Orange Essential Oil, stir and mix well. Don't have a double boiler? Not to worry! I just used a glass bowl to put on top of the pot. Easy peasy and I just saved you money...you're welcome ;)


Side note: Do you know how hard it is to take a photo of yourself with only one hand?! Super duper hard, FYI. As I was saying, in a Ziploc baggie, take a 1/2 c of unsalted pretzels with a pinch of Himalayan salt and crush with rolling pin. Spread chocolate with a spatula onto parchment covered cookie sheet, then sprinkle the pretzel-salt mixture over the chocolate.


This layer will be pretty thin in thickness, so if you like a thicker bark, I would pour the chocolate-orange mixture into a small brownie pan. Place chocolate-orange-pretzel cookie sheet into fridge for 2 hours to harden. After 2 hours, take out cookie sheet and gently break the bark into pieces. You can eat them yourself (which I may or may not have done) or you can gift them in pretty little boxes. Either way you've made something from the heart, and that's always the best gift of all. 


Creatively Yours and Happy Holidays,
NorCal Contessa ;) 

Tuesday, March 31, 2015

Rice Krispie PEEPS! Say Whaaaaaaat?

 Hello friends! If you love Rice Krispie Treats as well as Peeps (umm...they put me into a sugar coma every.single.Easter), then you'll love this combination! You follow the same exact recipe that is located on the side panel of a Rice Krispie cereal box, except instead of mashmallows use Peeps! I mean...PEEPS...melt in your mouth, velvety texture, and the crisp sugary edges...there's just too much DELICIOUSNESS there. Now, I realize some people will fight me on this. Some people detest Peeps and honestly, I'm not sure we can be friends, so just lie to me and say you love them even if you don't ;) I don't want to lose you as my friend. Moving on....


Seriously, these are just as simple to make as the regular treats, but you'll add two extra steps in layering the different colors. Check it out below:


OMGIWANTTHATBOWLRIGHTMEOW!!!!! #ihaveasugaraddiction


Side note: You'll get a good arm workout in Step 3...just trust me. Note: save yourself the headache and spray your spatula with cooking spray. You'll thank me later ;-)

After the cereal and marshmallow mixture is well combined, pour into a well greased 9x9 baking dish. Spray your hands too when it comes to pressing the cereal into the pan. Again, you can thank me later. Finally, follow steps 1-3 for your second and third layers. And this my friends is how they will turn out once you cut them up:


And there you have it! Rice Krispie Peeps. They are light, airy, and oh so good ;-) I made them for my sister's birthday over the weekend - and they turned out awesome. Try it out for yourselves and let me know your thoughts. I think it would also be fun to use cookie cutters and cut out shapes ie a bunny head, a carrot, an egg etc. Have fun with it and try NOT to stuff your face with Peeps along the way like I did...

Creatively Yours,
NorCal Contessa 


Monday, March 23, 2015

Don't be Rowdy, Have a Brownie!

Baddabing, baddabang! I just brought The Brownie to a whole new level! It was easy too! I added a secret ingredient....wait for it...PEPPERMINT essential oil. Now, you may look at me like I'm crazy and frankly, I don't blame you. But did you know you could bake with essential oils? Well you can, people! You can!!


We have some dear friends coming in from out of town tonight. I had been craving brownies but wanted to add a little something different. Not only does this oil help me combat my migraines, but it makes my brownies AMAAAAAAZING. Yes. Amazing has to be in all caps and written like that, because it's THAT good. I didn't have enough time to bake these from scratch, so I turned to my best baking pal Betty Crocker to help me out. I followed the recipe on the back of the box and before mixing all ingredients, I added 4 drops of Young Living Essential Oil Peppermint. 

Imagine if you can the smell of brownies baking in the oven. Your mouth is watering. Yes it is. And then...BAM! Your nose catches the invigorating smell of Peppermint and you want to dance your pants off! I mean, I did. 


How badly do you want to eat these glorious looking treats?! I KNOW! It's the perfect balance of chocolate and mint. The peppermint dances on your tongue and makes you want some more. It's a nice little surprise. So don't be shy, help yourself to more than one, no judgement here! 


Hmm...what else can I bake with my oils? I'll keep you posted! If you've baked or cooked with essential oils, namely Young Living, I want to hear all about it! Feel free to post below ;-)

Creatively Yours,
NorCal Contessa

Tuesday, March 10, 2015

The Wonderful World of...Paper Poppies! How Exciting!!

Before I start, when you read "Poppies," did you first think you read "Poopies?" I kept triple checking that I did NOT in fact write "Poopies" when writing the word 'Poppies,' but man did I make myself laugh in the process of it all. Clearly, I'm easily entertained.

I live amongst a lot of testosterone in this house. Three males to be exact. And more often than not, this little lady, moi, tends to feel like my surroundings are less than feminine. Don't get me wrong. I LOVE my house full of these three men - LOVE - but every now and again, I'd like for it to show that some femininity lives here as well. How is one to do that you say? Enter flowers! Beautiful, bright, fragrant blooms throughout the house - in every room, showcased in the most perfect and feminine of vases! Yeah. No. Not in this house. And can we be honest here? Beautiful, fragrant blooms comes with a hefty price tag (if you ask cheap little 'ol me) and as much as I want that kind of pretty in my home, it's just not conducive to our pocket book. So, while perusing Pinterest, I came upon a post about DIY Flowers and thought, "Yep, I'm all over this!" This, my dear friends, was the answer to all my prayers. I could have beautiful blooms, all year round, and not only would it make me HAPPY while adding a feminine touch, but our bank account happy as well. A win-win! YES!

So here comes the true test. Let's see if I can actually explain the process well enough so you can try it at home! Fingers crossed...you with me, people?!? 

Alright, the materials needed for this project are as follows: Scissors, tissue paper, floral tape, hot glue gun, 1/2" cotton balls (or you can use foam),floral wire, and bleach.

Step 1: With glue gun in hand, carefully glue the balls to the tops of the floral wire.

Step 2: After glue dries, cut out about 3-5 green tissue circles. Wrap the green tissue paper circle around the cotton ball to make a 1" ball. These will be your flower buds.

Step 3: Cover your wire with floral tape, as seen in photo above. It is a tad bit sticky - just an FYI 

Step 4: Cut out yellow tissue paper squares about 2x2", and cover your WHITE balls tightly. Be careful when wrapping tightly as the tissue is so delicate and may rip. Then you rip out your hair just like I did...yeah. 

Step 5: Cut out 3x1.5" rectangles. Fold the rectangle in half, lengthwise, and then cut the open edge to make fringe. You guys still with me here?? 

Step 6: Glue the fringe around the base of the YELLOW balls. See how it's starting to come along? YAY! 

Step 7: It's time for petals! Cut your tissue into 4" strips. Then roll or fold (as many times over as you can) the tissue and dip the edge into a small cup of bleach. The bleach will saturate the top half of the tissue and it will turn white. It's SO pretty. PRETTY, I say! Then carefully unroll/unfold the strips and lay flat to dry. It took maybe 7-10 minutes to completely dry.

Step 8: Fold your tissue into 6 folds and cut out circles. These are your delicate and feminine floral petals! Once petals are cut, you'll want to pinch the bottom so they form a bit of a cone shape.

Step 9: Glue 3 petals around each stem. Then take an additional 3 petals and layer with glue around the first three petals. Once it dries, carefully "crush" your petals It should look a little bit like this below:


Step 10: Carefully pull back the petals and form as you like. Last step is to take your floral wire and cover the bottom of the flower all the way down the stem. To give your blooms a more natural feel, gently bend the wires in different directions so they don't seem so stiff.

And voila! There you have it! Bright, beautiful blooms to surround your home and put a skip in your step lol! Had I a little more time, I would have made double the amount of blooms. I wanted a really full looking bouquet but kinda liked that you could see each individual flower. 

I hope you've been inspired to add a little feminine flair into your homes as well! If so, please post a photo! Would love to see what you came up with! 

Creatively Yours,
NorCal Contessa 

Wednesday, February 4, 2015

Don't Be A Gorilla! Make Some Vanilla...Lotion!

Have you ever wondered how to make lotion? Have you ever been in a position where *most* ingredients on lotion labels either aren't safe for you (or your family)? Well, both of my boys have really severe food allergies and believe it or not, a lot of  skin care products you find in stores aren't safe for their skin. For example, did you know that sesame seeds are in some lotions/make up? That's terrifying for this mama as my youngest has a sesame seed allergy :(  So last year when a group of us were invited to a lotion party at my girlfriend's house, I was elated at the fact that I knew EXACTLY what was going into these lotions....and what was even better...it was SAFE for my boys! Hot damn and hallelujah thankyouverymuch! 

This creamy and absolutely decadent lotion is very easy to make. What makes this lotion so special is that it's made with organic ingredients. My girlfriend orders her high quality, certified organic oils and wax from this online company here. Not only is this a super hydrating lotion, the scent doesn't fade! This lotion is ready in a matter of minutes and solidifies in about an hour. 

You just need a few ingredients: 
*2 - 4oz wide mouth Mason jar (each batch makes two jars) 
*oil (I prefer to use Organic coconut oil, but you can use sweet almond oil, grapeseed oil, sunflower oil, olive oil etc)
*Essential oil of your choice
*Water 
*Emulsifying wax
*a measuring cup

Homemade Body Lotion
1 1/4c hot water
1/4c emulsifying wax
1/4c coconut oil
24-36 drops essential oil

In a Pyrex measuring glass, combine the coconut oil and emulsifying wax and microwave for 1 minute until it is all melted.

Fill 1 1/4c water in a microwave safe mug for 2 minutes. While the water is heating up, add the essential oil into the melted wax/coconut oil mixture. 

Then pour the hot water into the wax/oil mixture and watch it turn milky white (my boys love watching this part!). Then pour the hot lotion into the wide mouth pint size Mason jar, cover tightly and shake. I've found that if I shake the jar every 15-20 minutes for an hour, it helps solidify the lotion more quickly than if I just let it solidify on its own overnight.

Make sure to store your lotion in a dry location, away from excessive heat. My little 4oz jar will last a good month and a half! Not bad, eh? These little jars make such wonderful hostess/birthday/anytime gifts because they are made with love :) 


 Behold....the amazing Vanilla lotion! I can smell its signature warm, feminine, sugary scent now! Lather up!!

This Tangerine and Lime Peel combo made me drool! The uplifting and invigorating scent provided a happy smile on my face all day long! And then it had me wishing for the long summer months ;-)


However this right here....the Mother of all scents (in my opinion), Lavender....sweet baby Jesus, is to die for. This has been my favorite essential oil to add to my lotions. I've also done a Lavender and Vanilla combination which is just as aromatic and luxurious! Doesn't this image make you wish you were laying in a dreamy hammock, with the breeze tickling your face, while drinking a glass of sweet tea? 


I'd love to know if you decide to try out this recipe! There are so many essential oils out there; Aura Cacia Pure, Young Living Essential Oils (which really should be a blog post on it's own as I SWEAR by these miraculous little jars of oil!), and doTERRA just to name a few. This recipe is easy to experiment scents with. Not only will you reap the benefits of the essential oils, but your skin will stay hydrated all day long. Choose the essential oil that rings true for you and you'll never purchase store bought lotion again. You have my word on that!!

Creatively Yours,
NorCal Contessa

*Note: you may want to go in with a few friends and order the wax. It's a little spendy, but it lasts a long time. My portion of wax, split between at least 5 of us, was a little over 2 cups I think. I have at least another 4 batches remaining! That's 8 more jars of lotion! Oh yeah!